Replacing a bathtub with a shower tray in Madeira: accessibility, waterproofing and what to know before starting
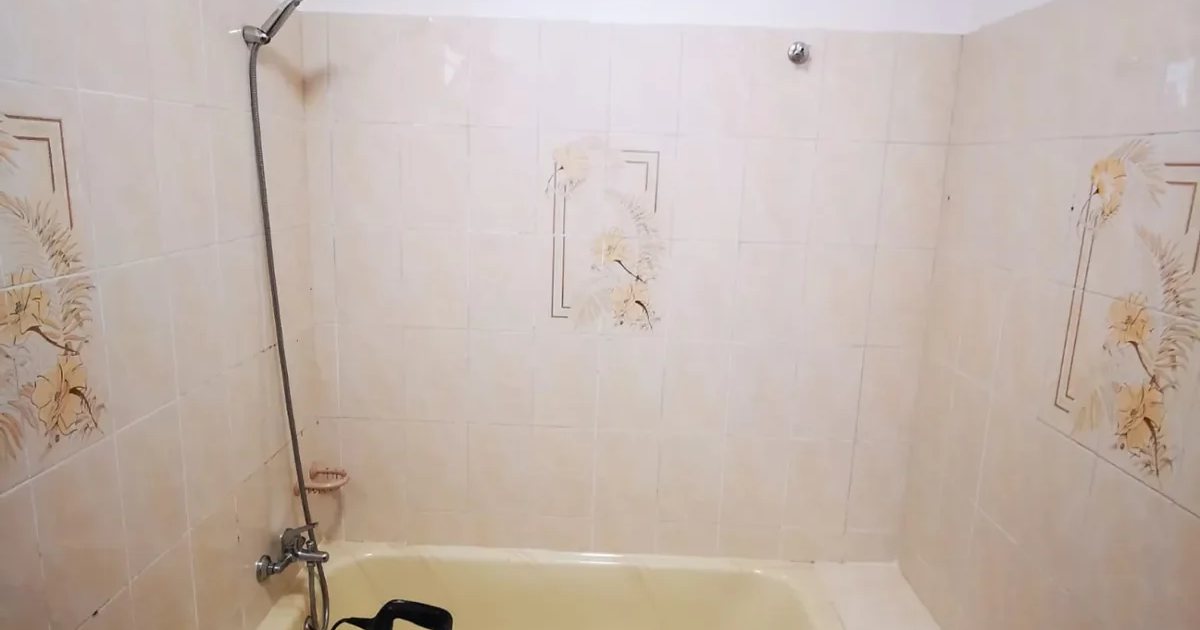
Replacing an old bathtub with a modern shower tray is one of the most requested renovations in Madeira, especially in older homes in Funchal, Caniço and Câmara de Lobos where space is limited. Beyond the aesthetic gain, this job involves important technical decisions: waste outlet adaptation, waterproofing the wet zone and, in many cases, floor level adjustments. This guide explains everything you need to know before starting.
🔎 Symptoms & Initial Diagnosis
Before deciding to switch, it's worth identifying the signs that it's the right time: 1) genuine difficulty stepping in and out of the bathtub, especially for elderly people or those with reduced mobility — the most common reason for requests in homes across Funchal and Caniço; 2) worn or cracked bathtub enamel with limescale stains impossible to remove; 3) degraded silicone at the bathtub-wall joint, with signs of leakage in the adjacent plaster; 4) wanting to gain space in a small bathroom, typical of older apartments in buildings in Santa Cruz and Machico; 5) a bathtub drain that is already slow or frequently blocked, a sign that the old drainage network needs review during this job.
🧪 Main Causes / Local Challenges
In older Madeira homes, especially those built on terraces or steep slopes (São Vicente, Ponta do Sol, Santana), the bathroom floor is often built on a slab without enough clearance to lower it for a flush floor-level shower. The original bathtub waste is usually 40 mm, while many modern shower trays work better with a 50 mm outlet to guarantee fast drainage, requiring adaptation of the existing pipework. Another challenge is proximity to the sea in municipalities like Câmara de Lobos and Machico, where old metal fittings and traps already show signs of sea-air corrosion and should be fully replaced during the job, not just reused.
🛠️ Ideal Step-by-Step / Technical Planning
A well-executed replacement follows this order: 1) careful removal of the old bathtub and assessment of the slab and drain condition beneath it; 2) adaptation of the waste pipework, adjusting trap height (usually 6 to 9 cm of clearance needed) and diameter to 40 or 50 mm depending on the chosen tray; 3) waterproofing with a liquid membrane or sheet across the entire shower zone, with extra reinforcement at corners and joints using fabric tape — the most fragile points against leaks; 4) levelling the floor with a slight slope (minimum 1.5–2%) towards the drain; 5) installing the non-slip tray (mineral resin, acrylic or ceramic) and fixing the tempered glass screen; 6) testing drainage with water before final sealing.
🚫 What to AVOID
Mistakes that compromise the result: 1) reusing the old trap and waste without checking whether the available clearance allows good flow — this leads to standing water and bad odours; 2) applying only silicone at the corners of the shower zone instead of true waterproofing with a reinforced membrane or sheet; 3) installing a floor-level shower tray without first confirming the thickness of the existing slab, which in older Funchal buildings can be structurally impossible without lowering the floor; 4) choosing a smooth, glossy tray instead of a certified non-slip surface, increasing fall risk — the opposite of the job's purpose; 5) ignoring the condition of the wall behind the old tiles, which may already hide old leaks behind the bathtub.
🧰 Preventive Maintenance & Best Practices
Once the new shower tray is installed, a few simple habits extend its lifespan: 1) clean the drain weekly, removing hair and soap residue that cause slow blockages; 2) check the joint silicone every 6–12 months and replace it at the first sign of cracking or mould; 3) use non-abrasive cleaning products on mineral resin trays to avoid wearing down the non-slip finish; 4) test drainage periodically, especially in Alojamento Local holiday homes with intense, intermittent use; 5) visually inspect the ceiling of the floor below (where applicable) a few weeks after the job, to confirm the waterproofing is working as expected.
FAQ
How long does it take to replace a bathtub with a shower tray?
With planning and materials on site, the work is normally completed in a few days, including removal, waste outlet adaptation, waterproofing and fitting the tray and screen.
Can any older Madeira home have a floor-level shower?
Not always. It depends on the thickness of the existing slab and the clearance available for the waste pipe. In many older Funchal homes it's necessary to slightly lower the floor or opt for a very low tray instead of a fully flush one.
Is waterproofing the shower area mandatory?
Yes, it is a vital step. Without waterproofing the walls and floor with a sheet or reinforced liquid membrane at the corners, the risk of leaks into neighbouring flats or adjacent rooms is high.
Need help now? Fast response on WhatsApp.
We replace bathtubs with shower trays including professional waterproofing in Funchal, Câmara de Lobos, Caniço, Santa Cruz, Machico, Ribeira Brava, Ponta do Sol, Santana, São Vicente, Porto Moniz and across Madeira Island.