How to Plan Your Bathroom Renovation in Madeira Without Headaches
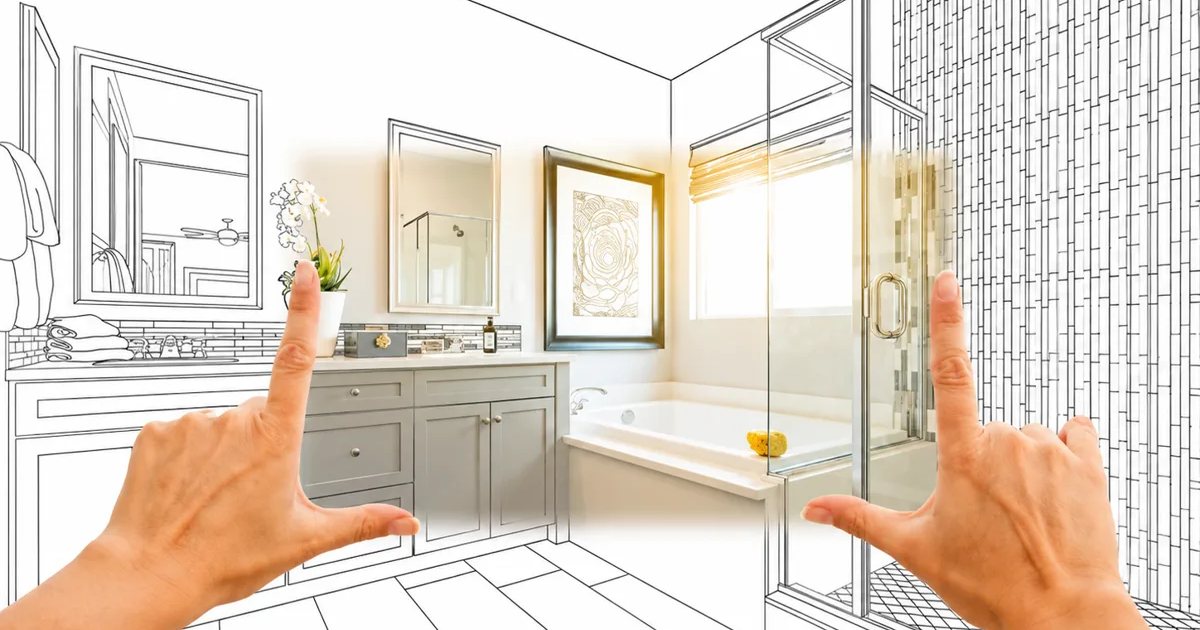
Renovating a bathroom is one of the investments that adds the most value to a home — and also one of the most likely to go wrong when plumbing is left as an afterthought. In old stone houses across Funchal, Câmara de Lobos or Ribeira Brava, the challenges multiply: pipework embedded in granite walls, outdated diameters and decades of exposure to sea air. In this guide we explain how to map the existing network, choose the right materials and plan a build with no surprises or leaks.
🔎 Symptoms & Initial Diagnosis
Before deciding anything about tiles or sanitaryware, you need to understand the real condition of the plumbing hidden behind the walls. Warning signs include: 1) damp stains or mould on skirting boards and bathroom corners; 2) water pressure noticeably lower than in other rooms; 3) metallic noise or vibration in pipes when taps are opened; 4) yellowish or reddish water in the first seconds, a sign of internal corrosion; 5) a cistern or traps with slow leaks already patched several times. A prior diagnosis with an endoscopic camera and pressure test avoids blind decisions and allows accurate budgeting before finalising the project with the tiler.
🧪 Main Causes / Local Challenges
In many old houses and buildings across Funchal, Caniço and Santa Cruz, water branches are still galvanised iron or, more rarely, lead, embedded directly into stone masonry. Madeira's mains water is soft, with little limescale, but that offers no protection against internal oxidation corrosion nor against sea air, which attacks exposed metal fittings in coastal areas like Machico or Câmara de Lobos. Another challenge is topographic: in houses built on terraces or steep slopes (common in São Vicente and Ponta do Sol), mains pressure can vary widely, requiring properly sized pressure reducers. Solid stone walls also make chasing channels harder, making pipe-routing planning even more critical.
🛠️ Ideal Step-by-Step / Technical Planning
A solid technical plan follows this sequence: 1) map every existing and desired water and drain point (toilet, bidet, shower, washing machine); 2) inspect the old pipework — if galvanised or lead over 25 years old, replace it entirely with PEX or multilayer, materials that are light, corrosion-resistant and compatible with mechanical fittings without welding; 3) check diameter compatibility between the old iron branch and the new network, using dielectric unions to prevent galvanic corrosion; 4) set the correct drain slope (minimum 2%) to avoid future blockages; 5) waterproof before any tiling; 6) only then proceed to screed, tiling and sanitaryware. This order avoids costly rework.
🚫 What to AVOID
Common mistakes that add cost and delay: 1) connecting new PEX pipework directly to old iron pipework without a proper dielectric union, which accelerates galvanic corrosion within a few years; 2) finalising the bathroom layout before mapping where the building's drainage stacks run, forcing structural cuts later; 3) ignoring the mains inlet pressure, installing taps and showers without a reducer when pressure exceeds 4 bar, common in higher areas of Santana and Porto Moniz; 4) hiring the tiler before finalising the plumbing project, reversing the logical build order; 5) reusing old traps and fittings “just to save money” when they already show signs of material fatigue.
🧰 Preventive Maintenance & Best Practices
Once the renovation is complete, preventive maintenance extends the life of the investment: 1) visually inspect joints and connections every 6 months, especially in homes close to the sea; 2) check the pressure-reducing valve condition annually; 3) clean drains and traps quarterly to prevent soap and hair build-up; 4) test the concealed cistern and flush plate once a year; 5) photograph the new pipe routing before closing walls, making any future intervention easier. These simple practices prevent the same problem that led to this renovation from recurring a decade from now.
FAQ
Is it worth replacing all the plumbing during renovation?
If the current plumbing is over 25 years old, galvanised iron or lead, or has already leaked, replacing it with PEX or multilayer is absolutely recommended. Doing it now, with walls open, costs a fraction of what it will cost in 5 years to break new tiles to fix a leak.
How long does a full bathroom renovation take?
A standard bathroom with coordinated teams typically takes 3 to 5 weeks: demolition and network mapping (2–3 days), plumbing and electrical (5–7 days), waterproofing and screed (5–7 days including cure), tiling (7–10 days), sanitaryware and finishes (3–5 days).
Can old iron pipework be connected to new PEX pipes without issues?
Not directly. Dielectric or transition unions are needed to prevent galvanic corrosion between different metals, a frequent problem in old Madeira homes that combine galvanised iron with modern pipework without the right fitting.
Request your free bathroom renovation quote from Canalizador Funchal®.
We carry out complete bathroom renovations in Funchal, Câmara de Lobos, Caniço, Santa Cruz, Machico, Ribeira Brava, Ponta do Sol, Santana, São Vicente, Porto Moniz and the remaining municipalities of Madeira.