Gravel-Like Noise and Vibration in Water Pumps (Cavitation and Suction)
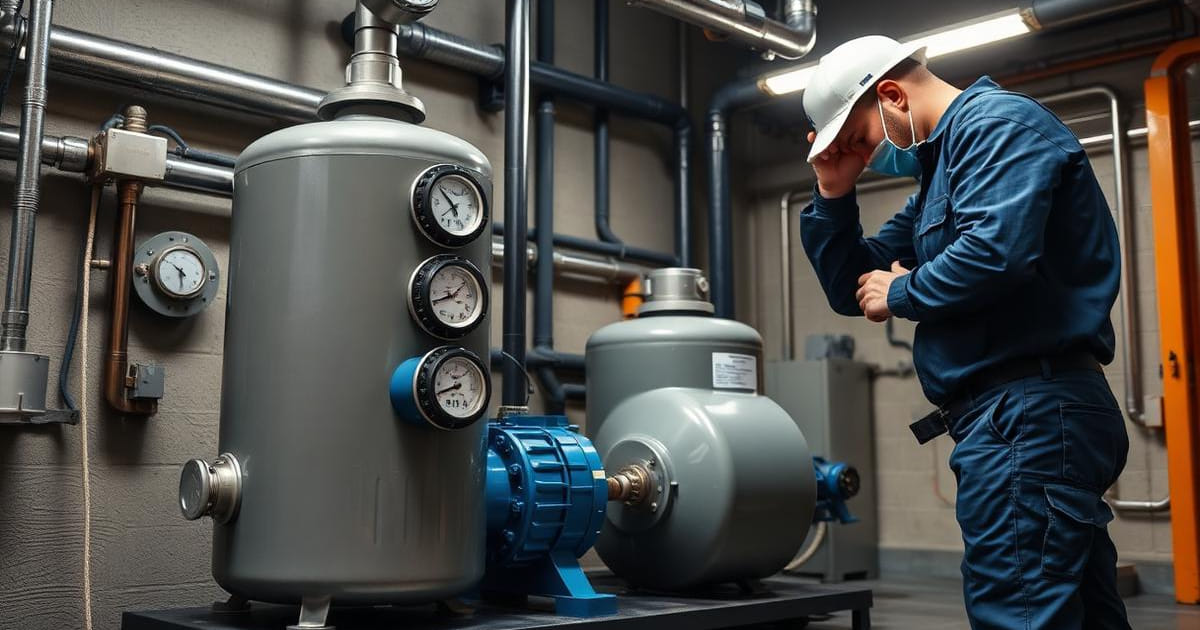
When a booster set starts making an intense metallic noise, as if it had gravel inside, and the pipework vibrates through the house, it is not 'the pump getting old'. It is cavitation: inlet pressure drops so far that water boils at ambient temperature, forming vapour micro-bubbles that implode violently on the impeller vanes. Each implosion tears away a microscopic piece of metal. In houses and blocks in Funchal, Caniço and Santa Cruz, a cavitating pump destroys its impeller within months — and the problem is almost never the pump, it is the suction.
🔎 Symptoms & Initial Diagnosis
1) An unmistakable gravel-rattling noise inside the pump body, especially on start-up or with several outlets open. 2) Vibration transmitted to pipework and structure, audible in distant rooms. 3) Unstable pressure, with the gauge swinging instead of settling. 4) Frequent pressure switch starts and stops (short cycling). 5) Abnormal motor heating and higher electricity use. 6) Air spitting from taps just after the pump starts. 7) On strip-down the impeller surface is pitted, sponge-like or eroded — the classic cavitation signature.
🧪 Why It Happens (NPSH in Plain Language)
1) Every pump needs a minimum inlet pressure to run without boiling the water — the available NPSH. 2) If the suction line is narrow, long or full of fittings, friction loss eats that margin and inlet pressure collapses. 3) 90° elbows glued straight onto the pump inlet create turbulence and destroy the laminar flow required. 4) Sudden reductions (larger pipe to smaller pipe) throttle flow exactly where it must be most generous. 5) An undersized foot valve or a clogged strainer adds a huge permanent pressure loss. 6) Drawing from a tank well below the pump (excessive suction lift) reduces the margin further. 7) Small air leaks on suction joints, invisible because the line is under vacuum, feed bubble formation.
🛠️ Practical Step-by-Step
1) Record the noise and watch the gauge at start-up and in steady state, to separate cavitation from bearing wear. 2) Measure the actual suction pipe diameter and compare it with the pump inlet. 3) Count the fittings: every 90° elbow, valve and reduction adds loss. 4) Check the strainer and foot valve in the tank or well — clean it and assess its size. 5) Pressure-test the suction line for tightness, because a suction air leak does not drip: it sucks. 6) Measure the geometric height between minimum water level and the pump axis. 7) Correct suction, fittings and foot valve; only then decide whether the pump really needs replacing. 8) Finish with anti-vibration mounts and flexible connectors to stop noise transmitting into the structure.
🎯 Definitive Technical Solution
1) Correct the Suction Diameter: increase the suction pipe diameter, which must never be smaller than the pump inlet, and remove sudden reductions or 90° elbows glued directly to the inlet, replacing them with long sweep bends to guarantee stable laminar flow reaching the impeller. 2) Adjust the suction lift (NPSH) and fit a Low-Pressure-Drop Foot Valve with Strainer, sized above the pipe diameter, at the tank or well inlet, preventing the air micro-bubbles that collapse violently inside the impeller. 3) Wherever possible, convert the pump to flooded suction (water level above the pump axis), the configuration that removes cavitation risk at root. 4) Complement with a straight stabilising section before the inlet, flexible anti-vibration connectors and resilient mounts, so residual noise does not travel into the building structure. 5) Once corrected, the impeller stops being destroyed and the pump runs quietly at its design duty point.
🚫 What to AVOID
1) Do not throttle the suction valve 'to reduce the noise' — it is the fastest way to worsen cavitation. 2) Do not replace the pump like for like without correcting the suction: the new one will die the same way. 3) Do not install the pump far from the tank with narrow pipe to save on materials. 4) Do not use 90° elbows in series on the suction, nor glue fittings straight onto the inlet. 5) Do not ignore short cycling: a badly pre-charged expansion vessel adds stress and noise. 6) Do not confuse cavitation with worn bearings — the sound differs and so does the fix. 7) Do not leave the foot valve unmaintained: a half-blocked strainer causes cavitation even when everything else is right.
🧰 Preventive Maintenance
1) Check the expansion vessel pre-charge annually (rule of thumb: about 0.2 bar below cut-in pressure). 2) Clean the foot valve strainer and suction filter. 3) Inspect suction joints for air ingress. 4) Confirm alignment and the condition of anti-vibration mounts. 5) Listen to the pump regularly: any return of the gravel noise needs immediate inspection. 6) In apartment blocks and rentals, include the booster set in an annual maintenance plan with pressure and consumption records.
FAQ
The pump is noisy but still gives pressure. Can I leave it?
You should not. Cavitation destroys the impeller from within even while the pump appears to do its job: metal is stripped microscopically until performance drops and the failure arrives suddenly, usually at the worst moment. Electricity use also rises and vibration fatigues joints and supports along the pipework. Correcting the suction costs far less than replacing the whole set.
How do I tell cavitation from worn bearings?
Cavitation noise is irregular, sounds like rattling gravel and changes with the number of open taps and the tank level. Bearing noise is constant, higher pitched and stays the same regardless of flow, usually with localised motor heating. When in doubt we measure inlet pressure and watch gauge behaviour — that is what settles the diagnosis.
Pump rattling like gravel? We fix the suction before the impeller is lost.
We diagnose and correct pump and booster set cavitation in Funchal, Câmara de Lobos, Caniço, Santa Cruz, Machico, Ribeira Brava, Ponta do Sol, Calheta, Santana, São Vicente and Porto Moniz.