Stains on the Neighbour's Ceiling Below: Is the Leak from the Shower or the Drain?
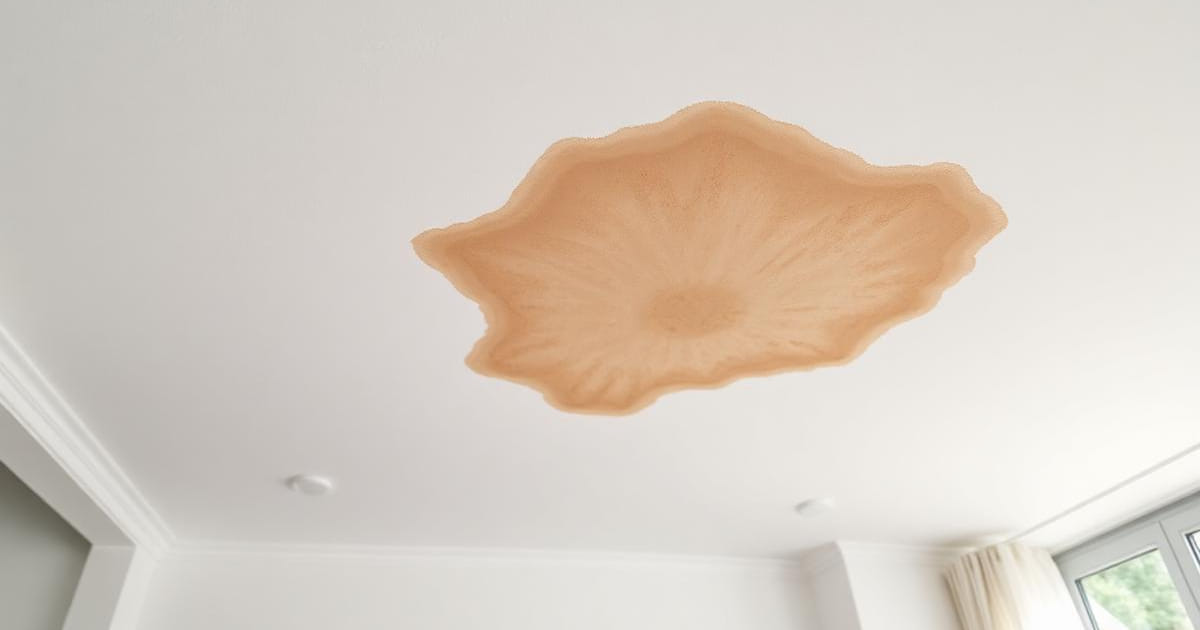
It is one of the most frequent calls in Funchal buildings: a stain appears on the ceiling of the flat below and the bathroom above is the immediate suspect. But inside that bathroom there are three completely different origins — the pressurised water network, the unpressurised drainage and the shower waterproofing and sealing. Each has its own signature and its own test. Getting the diagnosis right avoids opening ceilings, avoids management disputes and avoids repairing what was never broken.
🧭 Three Origins, Three Distinct Behaviours
1) Pressurised network (cold or hot water): it loses water 24 hours a day whether the home is occupied or empty — the stain grows continuously. 2) Drainage: it only loses water when something discharges — the stain grows in episodes and may dry between uses. 3) Shower sealing/waterproofing: it only loses during and just after showering, typically near the skirting or the corner of the module. 4) Hot water under pressure often shows a warmer halo on thermography and evaporates faster. 5) Drainage usually brings a characteristic odour and brown discolouration with residues. 6) The first diagnostic input is always chronological: when exactly does the stain grow?
📋 Step 1: Evidence Gathering and Meter Test
1) Take dated photographs of the stain over 5 to 7 days, always with the same lighting, to measure real progression. 2) Close every tap and outlet upstairs and read the meter: if it turns, there is a pressurised leak. 3) If the meter stays still through 2 hours of standstill, the pressurised network is practically excluded. 4) Ask the occupant for a simple usage log: shower, appliances, toilet, hour by hour, cross-referenced with stain growth. 5) Check whether the building has common risers next to the stain — it may not be the flat above. 6) Only with this data do we move to sector testing.
🚿 Step 2: Shower Tray Watertightness Test
1) Plug the waste with a test bung and fill the shower tray with 2 to 3 cm of clean water. 2) Mark the level with tape and leave it undisturbed for 4 to 6 hours with no use at all. 3) If the level drops and the stain reacts, the leak is at the waste, the tray joint or the waterproofing beneath the tray. 4) If the level holds and the stain does not react, tray and waste are excluded. 5) Second test: with the waste open, spray water only onto the walls and silicone joints for 15 minutes, keeping the floor dry. 6) A reaction to wall spraying but not to floor water points to failed silicone, grout or vertical waterproofing.
🌀 Step 3: Isolating the Drainage (Intermittent Discharge)
1) Run controlled discharges appliance by appliance, 30 minutes apart, observing the ceiling below. 2) Add fluorescent tracer or approved food dye to one appliance at a time and inspect with a UV lamp. 3) Toilet connections, the shower trap bend and the sink union are the most common failure points in older Funchal buildings. 4) A branch fill test with an inflatable plug confirms watertightness without mains pressure. 5) If the stain only appears after heavy discharges, suspect poor venting and backflow through a tired joint. 6) Record everything in writing: in a managed building, the report matters as much as the repair.
🔬 Step 4: Confirming the Pressurised Network Without Works
1) Pressure test with a gauge on the isolated branch: a pressure drop within 30 to 60 minutes confirms a leak. 2) Thermography to locate the hot water route and any abnormal cooling zone. 3) Ground microphone or acoustic correlator to hear the jet in embedded pipework. 4) Tracer gas (hydrogen/nitrogen) when the leak is tiny and produces no audible noise. 5) Endoscopy through an 8 to 12 mm micro-hole at the point the instruments indicate, to see before opening. 6) This set reduces the opening to a single point — not to a whole ceiling.
🤝 Step 5: Repair, Liability and Insurance
1) Fix the cause first; painting and finishing the ceiling below only after drying is confirmed with a meter. 2) Pressurised pipework inside a flat is that owner's responsibility; common risers belong to the building. 3) Bathroom waterproofing is, in practice, almost always the upper flat's responsibility. 4) A report with photographs, measurements and a description of the tests is exactly what insurers require for water damage. 5) Let the ceiling dry for 2 to 4 weeks before painting, or the stain will return. 6) Want a non-destructive diagnosis with a report for the building manager or insurer? Message us on WhatsApp.
FAQ
How do I know whether the leak is the shower or the drain?
The shower loses water during and just after use and is confirmed by the tray fill test; drainage loses only on discharge and is confirmed with tracer, appliance by appliance. The stain's chronology is the first indicator.
Is diagnosis really possible without breaking the ceiling?
Yes, in the vast majority of cases. We combine the meter test, tray fill test, tracers, pressure testing and thermography. When opening is needed, we drill a micro-hole at the exact point.
How long does the whole protocol take?
The instrument phases take a 2 to 3 hour visit. Tests that require standstill or observation between discharges can extend the process to two days.
The upstairs neighbour refuses to cooperate. What now?
Document the stain with dated photographs, write formally to the building management and request a technical survey. An independent instrument-based report is what unblocks these cases.
Stain on the ceiling and no idea where it comes from? We run the non-destructive protocol with a report. Message us on WhatsApp.
We work in Funchal, Câmara de Lobos, Caniço, Santa Cruz, Machico, Ribeira Brava, Ponta do Sol, Calheta, Santana, São Vicente and across the whole island of Madeira.