Replacing Plumbing in Old Stone Houses in Madeira Without Damaging the Structure
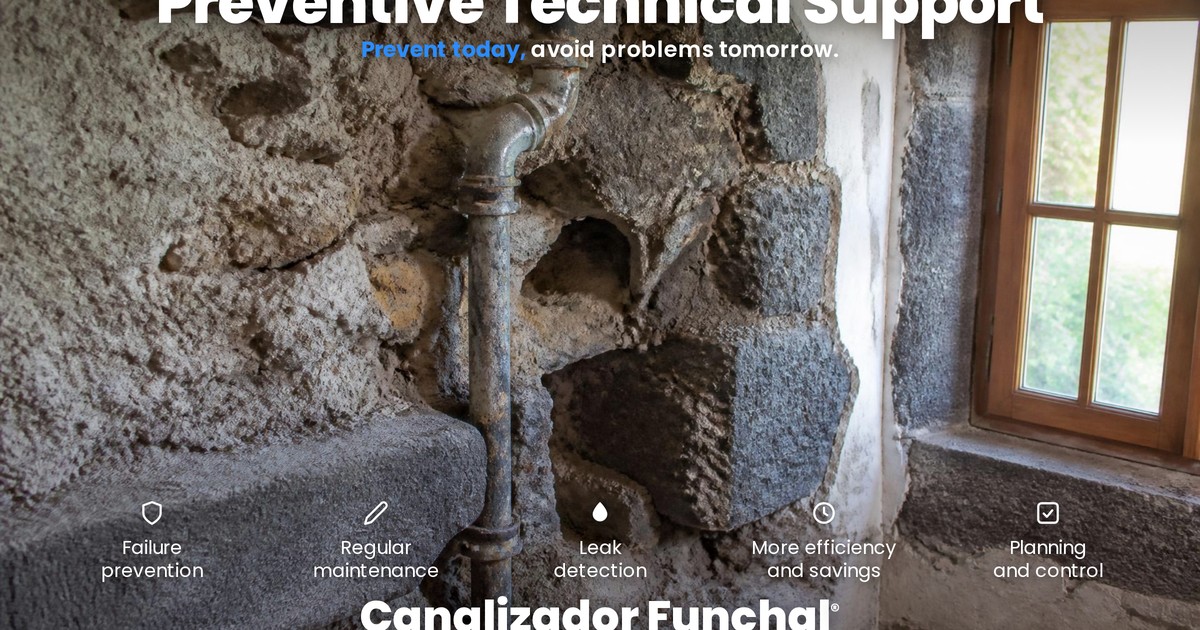
Many traditional houses and quintas on Madeira Island were built with thick volcanic stone masonry walls, lime mortar and carved stone surrounds around doors and windows. They are solid, beautiful buildings, but the original plumbing — galvanised iron, lead or clay — has reached the end of its life and was chased straight into the stone. Renewing water and drainage pipework in these homes, in Funchal, Santana or the inland quintas, calls for a different method from a modern build: the goal is to modernise the system without cutting destructive chases into load-bearing walls or touching the original stonework.
🔎 Symptoms & Initial Diagnosis
1) Low water pressure at taps and showers, especially upstairs, caused by old scaled-up galvanised iron pipes: the bore slowly closes with rust and limescale until flow drops to a trickle. 2) Yellowish or brownish water, or a metallic taste, after a few hours without use — a clear sign of internal pipe corrosion. 3) Damp patches, efflorescence and peeling paint on thick stone and old mortar walls, often at mid height where the pipework crosses the masonry. 4) Sudden shower temperature swings when another tap is opened, typical of restricted sections and systems with no manifold. 5) Repeated leaks at different points within a short period: once galvanised pipe starts to fail, patching one length simply moves the problem to the next. 6) The meter turning with every tap closed, pointing to a leak buried in the floor or inside the masonry. Diagnosis always starts with a meter reading, a pressure test and a thermal camera, so we know what is buried before deciding where to open.
🧪 Main Causes in Madeira
1) Traditional houses and quintas built with volcanic stone masonry and lime mortar, 50 to 80 cm thick, with no ducts or guide sleeves provided for services. 2) Old pipework chased directly into concrete and stone with no technical channel: it was simply hacked in and covered with mortar, which makes conventional replacement slow, noisy and destructive. 3) Incompatibility between old materials such as iron and lead and new PEX, multilayer or PPR pipes, requiring proper transition fittings and demountable unions at accessible points. 4) Galvanic corrosion at mixed iron-copper joints created over decades of patch repairs, which perforates the pipe precisely at the connections. 5) Stone surrounds at doors, windows and stairs that cannot be cut or drilled without losing heritage value and watertightness. 6) Timber floors on joists, or flagstones laid on soil, hiding clay drainage with open joints and root ingress. 7) Successive alterations over time — kitchens moved, bathrooms added — leaving dead legs still connected to the system and routes with no logic at all.
🛠️ Ideal Step-by-Step Solution
1) Advance mapping of the structure with technical detection: pipe locator, thermal camera and CCTV drain inspection, to identify beams, lintels, key stones and existing routes before any cutting. 2) Designing the new layout from a single entry point, defining where the central manifold goes and how each branch runs, favouring non-destructive paths. 3) Using technical channels, false ceilings, wardrobes, plasterboard boxing and strategic chases only in partition walls to run multilayer and PEX, leaving load-bearing walls and stonework untouched. 4) Installing central manifolds, with continuous pipe and no joints inside the wall up to each outlet: if a problem ever appears, the pipe is replaced by pulling a new one through the same sleeve, breaking nothing. 5) Connecting to the old system only at accessible points, with dielectric unions or certified transition fittings wherever dissimilar metals meet. 6) Full replacement of exposed drainage with PVC or PP at correct falls, keeping or creating accessible inspection chambers outside the house. 7) A multi-hour pressure test on the water system before closing any channel or ceiling, plus a complete photographic record of the layout. 8) Making good with mortar compatible with old construction — hydraulic lime rather than pure cement — so the wall keeps breathing and moisture is not trapped.
🎯 The Definitive Technical Solution: Two Effective Approaches
1) Exposed stainless steel option: surface-run stainless steel pipework fixed with mechanical clips with insulating rubber. It preserves the structural integrity of the stone wall and the rustic or industrial look, offers very high mechanical strength, withstands high pressure and suffers no degradation or corrosion. 2) Concealed PEX-AL-PEX multilayer in conduit: the multilayer pipe runs inside a corrugated conduit (pipe-in-pipe system), hidden in technical skirtings, plaster cornices or false ceilings. Distribution is radial from an accessible central manifold, guaranteeing zero hidden joints or couplings inside stone walls or floors — if a run ever fails, the pipe is pulled and replaced through the conduit without opening the masonry.
🚫 What to AVOID
1) Cutting deep horizontal chases into load-bearing stone walls without a support assessment: in old masonry, a badly cut chase unseats stones and causes cracks that only appear months later. 2) Mixing iron and copper connections without dielectric insulation: galvanic corrosion attacks the less noble metal and perforates the pipe exactly at the joint within a few years. 3) Keeping parts of the old lead or iron pipework connected to the new system — even short lengths keep shedding oxides, restricting flow and contaminating water that has just passed through new pipe. 4) Drilling or cutting stone surrounds to run pipes, when there is almost always an alternative through a false ceiling, technical skirting or partition wall. 5) Sealing everything with pure cement and waterproof render over stone walls: moisture rises and escapes somewhere else, with efflorescence and peeling paint. 6) Closing walls and ceilings before the pressure test and with no photographic record of the layout. 7) Running the works in disconnected phases with no overall design, which ends up opening the same wall two or three times.
🧰 Preventive Maintenance
1) Periodic checks of the manifold inspection points, confirming there is no damp in the service cabinet and that every circuit isolation valve works. 2) Fitting a sediment filter at the main inlet of the house, with cartridge cleaning or replacement once or twice a year — essential in Madeira's higher areas where water carries particles after heavy rain. 3) Operating the isolation valves once a year so they do not seize and become useless in an emergency. 4) Reading the meter with everything closed, twice a year, as a simple hidden leak test. 5) Checking the pressure reducing valve and the working pressure, keeping it between 3 and 4 bar to protect the new system and appliances. 6) Inspecting drainage chambers and cleaning them before the rainy season, especially at quintas with nearby trees and roots. 7) Keeping the photographic record and the layout drawing produced during the works: in old houses that document is worth more than any warranty.
FAQ
Is it worth cutting into stone walls to hide the new pipework?
Rarely. Chasing thick stone masonry is expensive, slow and weakens the structure. The two effective solutions are exposed stainless steel pipework fixed with insulating rubber clips, or PEX-AL-PEX multilayer inside a corrugated conduit hidden in technical skirtings, cornices or false ceilings.
Why must distribution be radial from a manifold?
Because every outlet is fed by one continuous pipe, with not a single hidden joint inside a stone wall or floor. If there is a problem, you isolate it at the accessible manifold and pull a new pipe through the conduit without breaking anything.
How long does a full plumbing renovation take in an old house?
In a stone house with two bathrooms and a kitchen, a complete water and drainage renovation usually takes one to three weeks of plumbing work, depending on wall accessibility, whether there is a false ceiling and how much flooring has to come up. If the project also includes making good, painting and refitting sanitaryware, the overall schedule is longer. Larger houses or quintas with outbuildings take more time because of the external routes. In Madeira we always allow some margin for the surprises typical of old construction, such as key stones exactly where the pipework was meant to run.
Is it better to run pipes through the floor or the false ceiling in stone houses?
As a rule, the false ceiling is the better option in old stone houses: it allows distribution from the manifold without touching load-bearing walls or stonework, keeps pipes accessible and avoids lifting original timber floors. The floor is only preferable when it is being replaced anyway, when there is a void beneath the boards, or when running low greatly shortens the route to the bathrooms. In practice we combine both: hot and cold water through the ceiling and a vertical drop in a technical channel or partition wall to each outlet, keeping drainage where natural falls allow.
Is it worth reusing part of the old pipework to save money?
It almost never pays off. Keeping galvanised iron or lead sections connected to new pipework preserves the pressure problems, the yellow water and the leak risk, and forces you to open walls again soon after. The only reasonable exception is recent copper or multilayer sections in good condition and accessible, always with a dielectric union at the transition. In Funchal, Santana and the inland quintas, experience shows the initial saving of a partial reuse disappears with the first repair.
Renovating an old stone house? Message us on WhatsApp and book a technical assessment.
We renew plumbing in old stone and traditional masonry houses in Funchal, Caniço, Santa Cruz, Machico, Câmara de Lobos, Ribeira Brava, Ponta do Sol, Calheta, Santana, São Vicente and Porto Moniz, across Madeira Island.