Protecting Exposed Pipes Against Frost and Freezing in Highland Areas
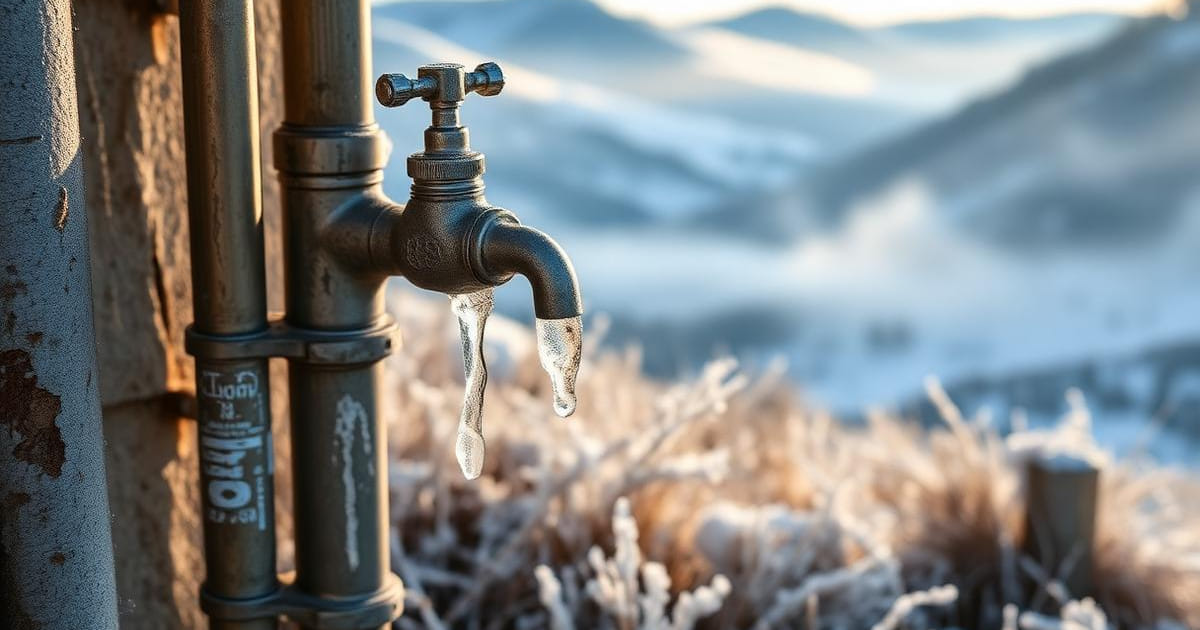
Madeira is associated with mild weather, and people forget that above 700-800 metres — Paúl da Serra, Areeiro, Poiso, Santo da Serra, upper Camacha, inland Santana and São Vicente — winter night temperatures regularly drop below zero. Water inside the pipe freezes, expands by around 9% in volume and bursts pipework, flexible hoses and garden taps. The real damage is rarely the pipe: it is the flood that appears when the ice thaws while the house is empty. Prevention is simple, cheap and done before winter.
🔎 Areas and Components at Risk
1) Exposed pipework on north-facing walls with little winter sun. 2) Garden taps, outdoor sinks and irrigation branches with no indoor isolating valve. 3) Runs on terraces, open garages, ventilated basements and outdoor paths between tank and house. 4) Flexible hoses and UV-exposed PVC pipe, already embrittled and first to fail. 5) Meters and manifolds in outdoor niches with no insulation. 6) Washing machines and sinks installed on balconies glazed with single panes. 7) Holiday homes and short-term rentals left empty for weeks, where nobody spots a burst in time.
🧪 What Physically Happens
1) Water freezes first against the pipe wall, in the coldest and lowest-flow sections. 2) As the ice grows it forms a plug and pressure rises sharply in the section trapped between the ice and a closed valve. 3) The pipe fails at its weakest point — often a joint, a hose or the tap body, not at the ice itself. 4) In sub-zero conditions copper and multilayer resist better than PVC, but no material survives repeated expansion. 5) The rupture only shows when the ice melts and water flows again — hence mid-morning floods. 6) Insulation alone only delays freezing: if the temperature stays negative for many hours, the pipe still freezes without a heat source.
🛠️ Practical Step-by-Step
1) Survey every exposed run, with photos and measured lengths. 2) Identify and label the isolating valves for outdoor branches. 3) Drain branches unused in winter (irrigation, outdoor sink, outdoor shower) — close the indoor valve and open the outdoor tap. 4) Run the self-regulating heating cable along the pipe, straight or spiralled on critical sections, always passing taps and joints. 5) Fit the insulation sleeve over it, with glued joints and no gaps. 6) Add UV-resistant outer protection on sunlit sections. 7) Wire to an RCD-protected circuit and, ideally, an outdoor ambient thermostat. 8) Test before the first cold spell and check annually.
🎯 Definitive Technical Solution
1) Install a Self-Regulating Electric Heating Cable (trace heating) laid along the exposed pipework, underneath the insulation. This smart cable, rated 10 W to 15 W per metre, automatically adjusts its output only when the pipe temperature drops close to 3 °C, keeping the water liquid with minimal electricity use and no overheating risk — it can cross over itself without burning, unlike constant-wattage cables. 2) Clad the pipework with High-Density Elastomeric Rubber Insulation Sleeve at a minimum thickness of 19 mm, with UV-resistant outer protection, to prevent both freezing and sun degradation of the insulation. 3) Combining both measures is what delivers results: insulation cuts losses and the cable restores the small amount of heat needed in the critical pre-dawn hours. 4) At singular points — taps, bends, joints and meters — cable and insulation are reinforced, because that is where bursts happen.
🚫 What to AVOID
1) Never use a blowtorch, boiling water or industrial heat gun to thaw a pipe: thermal shock and sudden expansion burst pipework and create a fire risk. 2) Do not rely on a dripping tap as your only strategy — it helps on marginal nights but wastes water and does not protect closed branches. 3) Do not insulate with low-density foam without UV protection: it breaks down in one season. 4) Do not use overlapping constant-wattage heating cables: they overheat and melt the insulation. 5) Do not plug the cable into a socket without RCD protection. 6) Do not forget hoses and garden taps — the weakest point of any outdoor installation. 7) Do not leave a house empty in winter with the main water on and outdoor branches undrained.
🧰 Annual Preventive Maintenance
1) Before winter, check the insulation and replace degraded sections. 2) Switch on and test the heating cable, confirming consumption and thermostat operation. 3) Drain seasonal branches and close the matching valves. 4) Replace hoses older than 5 years, especially outdoors. 5) If the house will be empty, close the main valve and drain the system. 6) Consider an automatic shut-off valve with leak detection in holiday homes and rentals. 7) Record everything in an annual maintenance plan — after a claim it helps demonstrate diligence to the insurer.
FAQ
Does it really freeze enough in Madeira to burst pipes?
Near the coast, practically never. Above 700-800 metres, yes: Paúl da Serra, Areeiro, Poiso, Santo da Serra and the higher parts of Santana, São Vicente and Camacha record several sub-zero nights each winter. One such night is enough to freeze a poorly protected outdoor branch, and the rupture only reveals itself when the ice thaws. It is a very real local problem, simply concentrated at altitude.
How much electricity does a self-regulating cable use?
Far less than people expect, because it does not heat continuously: output rises only when the pipe cools towards 3 °C and drops to almost nothing once the temperature recovers. On a typical 10 metre run at 12 W/m, real consumption is concentrated in a few pre-dawn hours on cold winter nights. Set against the cost of a burst pipe and the resulting flood, it is a marginal investment.
House in a highland area? We protect outdoor pipework before winter.
We frost-proof pipework in Santo da Serra, Camacha, Santana, São Vicente, Porto Moniz, Calheta, Funchal and the other highland areas of Madeira Island.