Infrared Thermography: How to Locate Water Leaks Without Breaking Walls or Floors
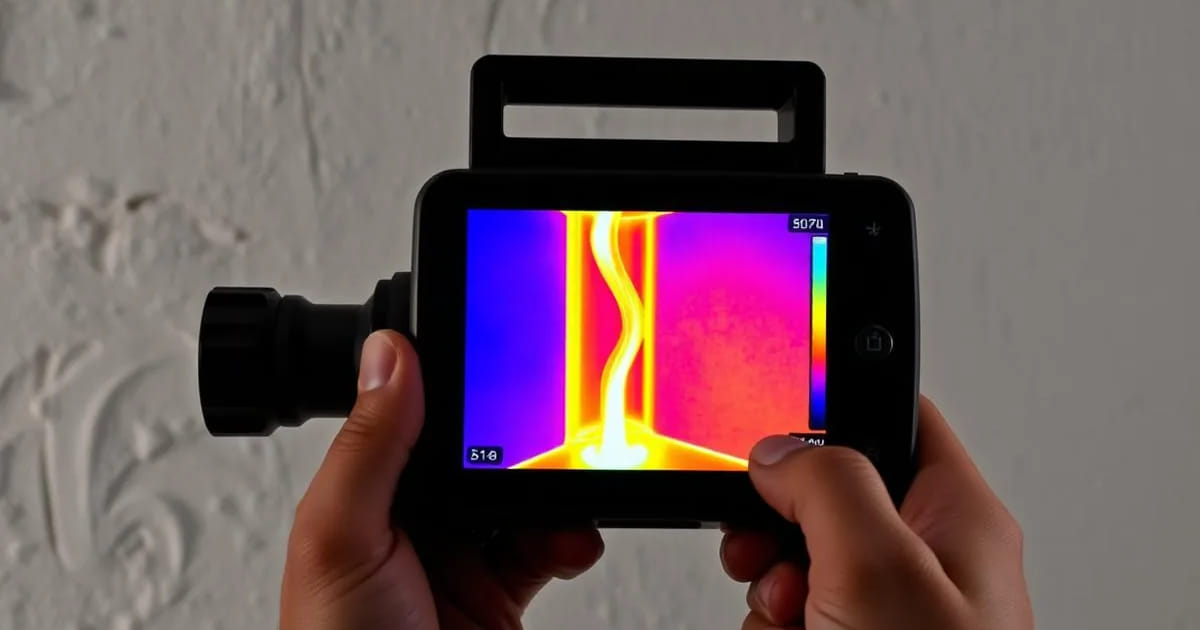
For decades, finding a hidden leak in a wall or under a floor meant opening holes until you got lucky. Infrared thermography changed that logic completely: a thermal camera does not see water, it sees temperature — and water that flows or pools always changes the temperature of the surrounding materials. In Funchal and across Madeira, where pipework often runs in screed, wall channels and stone or block walls, this reading locates the probable leak with the building intact and turns demolition into a single surgical opening.
🌡️ How a Thermal Camera Works
1) Every material emits infrared radiation in proportion to its surface temperature. 2) The thermal camera converts that radiation into an image where each pixel is a temperature. 3) A hot water leak locally warms the finish; cold water cools it through evaporation and conduction. 4) That creates a thermal gradient — the signature the technician is looking for. 5) What you see is never the water itself, only the thermal effect it produces in the material. 6) Surface emissivity (tile, plaster, render, stone) affects the reading and must be configured. 7) This is why thermography is a non-invasive and entirely indirect diagnostic method.
🧱 Leaks in Walls, Ceilings and Screed
1) In a wall, a hot water leak draws a warm line or plume rising from the failure point. 2) With a cold water leak, the damp area appears colder than the dry material around it. 3) In ceilings, the thermal pattern separates a point infiltration from spreading through a fill layer. 4) In screed with underfloor heating or hot water pipework, the pipe route becomes visible as defined warm lines. 5) A wide, diffuse anomaly suggests pooled water; a narrow linear one suggests the pipe itself. 6) Comparing a live circuit against an isolated circuit confirms which pipework is involved. 7) The hottest or coldest pixel is rarely the leak: it is the centre of the thermal patch that matters.
🔍 The Correct Inspection Protocol
1) Start at the meter: consumption with every outlet closed proves there is a leak in the system. 2) Survey the property and identify suspect risers, manifolds and branches. 3) Induce thermal contrast: circulate hot water or isolate valves section by section. 4) Scan surfaces methodically, at consistent distance and angle, to avoid false reflections. 5) Record thermal images paired with visible photographs to document the report. 6) Confirm the anomaly with a second method: moisture meter, acoustic geophone or tracer gas. 7) Only after two independent confirmations is the opening point marked.
⚠️ Limits and False Positives
1) Thermography does not see through materials: it measures the surface and what reflects on it. 2) Very deep pipework or thick insulation may produce no visible contrast. 3) Direct sun on façades creates warm patches that mimic a leak perfectly. 4) Thermal bridges, ventilation ducts and electrical cables create anomalies unrelated to water. 5) Metal surfaces and glass reflect and distort readings if emissivity is not corrected. 6) A fully stabilised leak with no flow can be thermally invisible. 7) That is why the camera is a powerful triage tool and never standalone proof.
🏝️ Practical Use in Madeira
1) In blocks with concealed risers, thermography avoids opening several floors to find the source. 2) In houses with underfloor heating or hot water in screed, it maps the route before any cut. 3) In holiday lets, non-invasive inspection avoids closing units for days. 4) In older Funchal buildings, it protects irreplaceable hydraulic tiles and stonework. 5) In coastal areas, it helps separate ambient condensation from a genuine leak. 6) On roofs and terraces, it identifies water trapped in saturated insulation layers. 7) The objective is always the same: open the minimum, repair the right thing.
📋 Report, Repair and Insurance Evidence
1) Every inspection ends with a report: thermal images, photographs, readings and the marked point. 2) Insurers accept that documentation as technical evidence of the origin of the claim. 3) The opening is planned to the smallest possible area, with floor and furniture protected. 4) After the repair, the thermal reading is repeated to confirm the anomaly has gone. 5) A pressure test on the repaired section precedes closing the wall or reinstating the screed. 6) We photograph the corrected route so future work is never blind. 7) Suspect a hidden leak? Message us on WhatsApp for diagnosis without demolition.
FAQ
Does a thermal camera see water inside the wall?
No. It sees surface temperature. Water changes the temperature of the surrounding material and it is that thermal gradient which reveals the leak area, with the finish left intact.
Does it work for cold water leaks?
Yes. The damp area cools through evaporation and conduction, reading colder than dry material. Contrast is lower than with hot water, so we combine it with a moisture meter or geophone.
Can the leak be located without opening anything?
The area can be located very precisely with nothing opened. Repair always needs access to the pipe, but it becomes a surgical opening instead of exploratory demolition.
Is the thermal report useful for insurance?
It is, and often decisive. We provide thermal images paired with visible photographs, readings and a description of the origin, which greatly helps the claim be accepted.
Suspect a hidden leak in a wall or floor? Message us on WhatsApp for thermal diagnosis without demolition.
We work in Funchal, Câmara de Lobos, Caniço, Santa Cruz, Machico, Ribeira Brava, Ponta do Sol, Calheta, Santana, São Vicente and across the whole island of Madeira.