Hydrostatic Pressure Tests: How to Verify Pipework Tightness
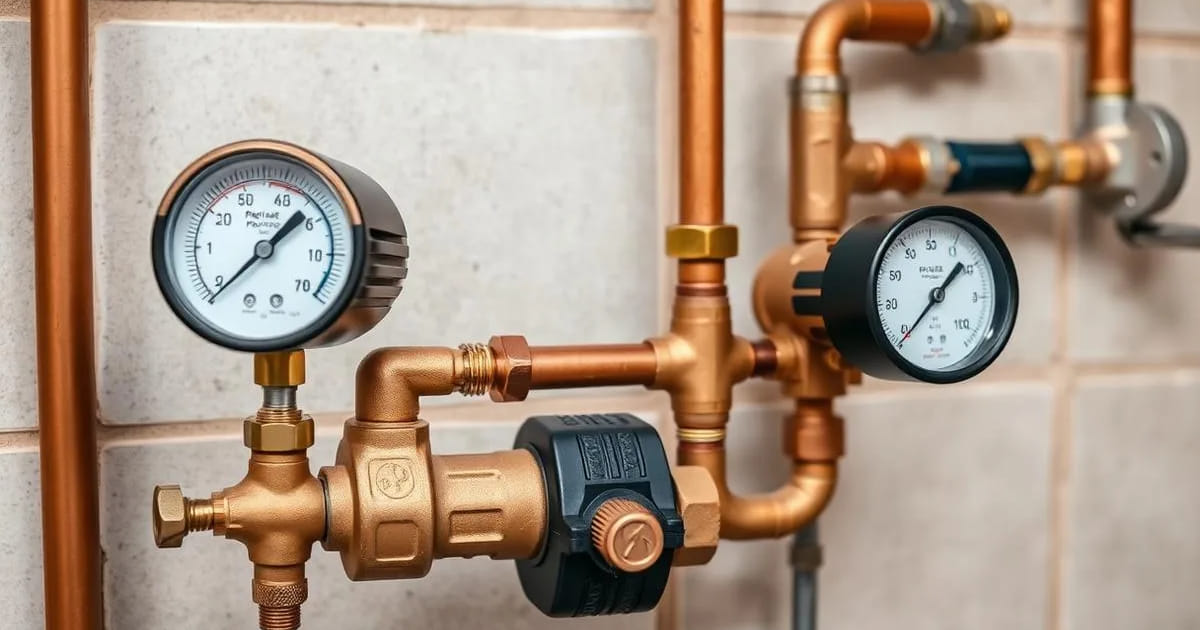
A brand new water system can look perfect and still hide a badly crimped press fitting, a thread with insufficient sealing, or a pipe nicked by a fixing screw. At normal working pressure those defects can take months to show — and by then they are under tile, screed or plaster. The hydrostatic pressure test exists precisely to force the installation to reveal its defects before the walls are closed: the system is filled with water, pressure is raised above working pressure with a hand pump, and the gauge is watched for a defined period. If pressure holds, the system is tight. If it falls, there is a leak — and it is far cheaper to find it now.
🔎 Why the Test Comes Before Closing Walls
1) The test reveals workmanship defects that normal working pressure would only expose months later. 2) Incomplete crimps, threads with poor sealing and misaligned compression joints are the most common causes. 3) A pipe pierced by a screw for furniture or plasterboard profiles is a site classic. 4) Micro-leaks in concealed pipework cause structural damp, salt efflorescence and leaks into neighbouring flats. 5) Once the wall is closed, finding the leak needs detection equipment and cutting a new channel. 6) The cost of testing is negligible compared with reopening brand new tiling. 7) On jobs with warranty and insurance, the test record is the document that protects the installer.
📐 Test Pressure and Acceptance Criteria
1) The reference rule is to test at 1.5x the intended working pressure of the installation. 2) On a typical domestic system running at 3–4 bar that means a test between 6 and 9 bar. 3) The exact figure must respect the nominal pressure of the material and the pipe and fitting manufacturer's instructions. 4) Pressure is held for a defined period, with readings taken at the start and at the end. 5) The acceptance criterion is simple: stable pressure, with no drop attributable to a leak. 6) A small initial variation can come from elastic pipe expansion and temperature, not from a leak. 7) Any continued drop requires locating the point and repeating the test after the repair.
🧰 Equipment: Test Pump and Gauge
1) A manual test pump has a reservoir, plunger, check valve, gauge and connection hose. 2) The gauge must have a suitable range — a 25 bar gauge is useless for reading variations at 6 bar. 3) Glycerine-filled gauges are more stable and easier to read on site. 4) Connection is made at a drain point, isolating valve or a purpose-made test plug. 5) All outlets are plugged and appliance isolating valves are kept closed. 6) Purging air is essential: compressed air inside the pipe completely falsifies the readings. 7) A written record with initial pressure, final pressure, time and duration turns the test into documentary proof.
🛠️ Step-by-Step Procedure
1) Confirm the system is complete, properly clipped and with every terminal plugged. 2) Fill the installation slowly with water and open high points to expel all air. 3) Connect the test pump and raise pressure progressively to the defined test value. 4) Close the pump valve, record the initial pressure and the exact start time. 5) Hold pressure and walk the whole system visually, checking every joint, bend and wall penetration. 6) At the end of the test period, record the final pressure and compare it with the initial reading. 7) Release pressure in a controlled way and only then allow walls and screed to be closed.
💧 Locating a Detected Micro-Leak
1) Split the system into sectors using isolating valves and test sector by sector to isolate the falling zone. 2) Inspect mechanical joints first: they account for most leaks in new pipework. 3) Check areas where drilling took place afterwards — furniture, mirrors, profiles and brackets. 4) On very small leaks, damp only appears after hours under sustained pressure. 5) Electro-acoustic listening and thermography help when the run is already partly covered. 6) Once the defect is fixed, the test is always repeated in full, not only on the repaired section. 7) Record the correction: knowing what failed prevents repeating the same mistake on the next job.
📋 Best Practice in Madeira and Future Maintenance
1) In buildings with high mains pressure, fit a pressure reducing valve upstream and then test against the real working figure. 2) In the higher areas of the island, avoid leaving the system full and pressurised in cold spells without protection. 3) Keep photographs of the pipework before closing: they are worth gold in any future intervention. 4) Test again after partial bathroom or kitchen refurbishments. 5) In holiday lets, periodic testing of pipework and hoses reduces the risk of flooding with guests inside. 6) Combine the test with checks on working pressure, isolating valves and expansion vessel. 7) Want proof your system is tight before the walls close? Message us on WhatsApp.
FAQ
What pressure is used for a tightness test?
The usual reference is 1.5x the intended working pressure, always respecting the nominal pressure of pipe and fittings. On a domestic system at 3–4 bar the test typically sits between 6 and 9 bar.
Why does pressure drop slightly at the start of the test?
It can come from elastic pipe expansion, residual air in the system or temperature change. What indicates a leak is a continued drop, not a small initial stabilisation.
Is testing mandatory before closing walls?
It is best practice and the only way to prove the installation before it becomes inaccessible. A documented test protects both client and installer in the event of damage or an insurance claim.
Can the test be done with air instead of water?
Air tests exist for specific situations, but on potable water systems the hydrostatic water test is the reliable method because it reproduces real service conditions.
Want a documented tightness test before your walls are closed? Message us on WhatsApp.
We work in Funchal, Câmara de Lobos, Caniço, Santa Cruz, Machico, Ribeira Brava, Ponta do Sol, Calheta, Santana, São Vicente and across the whole island of Madeira.