Home Flood Risk Zones: Where to Place Floor Moisture Sensors
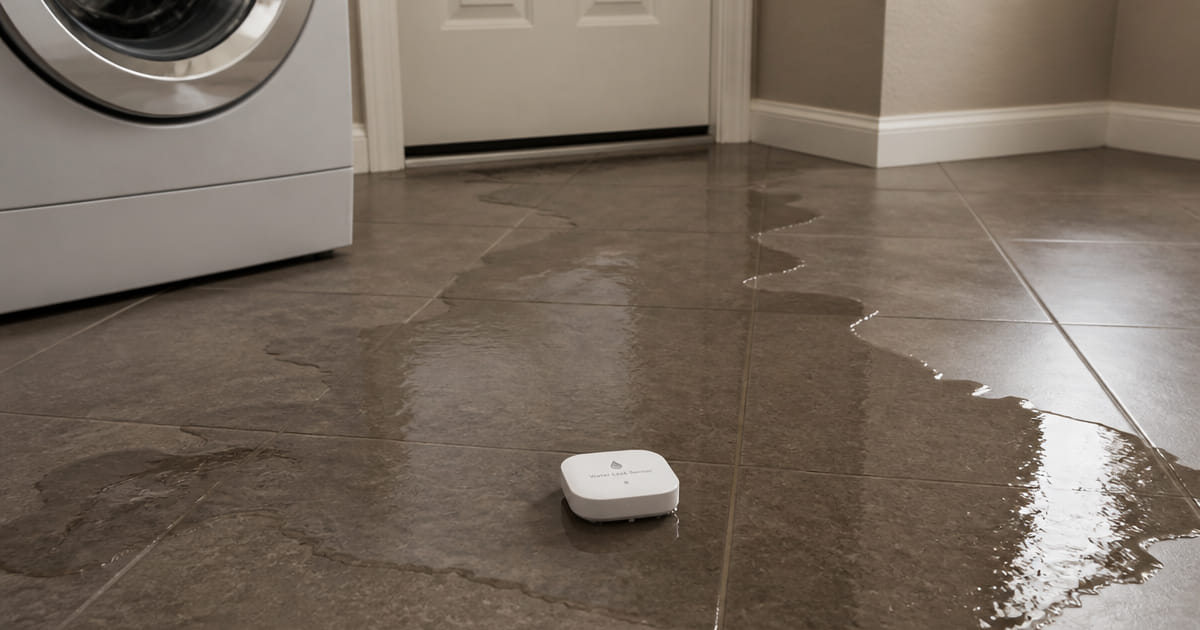
Buying leak sensors is the easy part. What decides whether the system works is where each sensor sits: a few centimetres off, or the wrong side of an expansion joint, and water crosses the whole room before it touches an electrode. After hundreds of jobs in homes across Funchal and Madeira, the failure points repeat with remarkable consistency. This guide shows where water starts, where it runs and where the sensor must be to raise the alarm in the first seconds.
🔥 Priority 1: Water Heater and Plant Area
1) This is the point that produces the largest volumes: a perforated cylinder releases 50 to 200 litres plus the refill flow. 2) Place the sensor directly under the cylinder, at the lowest point of the floor. 3) Add a second sensor at the safety valve discharge, which drips as it starts to fail. 4) Check for a floor drain: if there is none, water heads for the next room and the sensor must cover that route. 5) On wall-hung cylinders, watch for rust at the base — the first visible sign. 6) In external plant areas, use sensors rated for permanent humidity and salt exposure.
🌀 Priority 2: Washing Machine and Dishwasher
1) The second most frequent cause: inlet hose, door seal or a loose drain hose. 2) The sensor goes under the appliance, as far back as possible, where water appears first. 3) In kitchens with a continuous plinth, add a sensor at the cabinet exit, at skirting level. 4) Check the drain hose is properly secured and has an anti-backflow loop. 5) Replace inlet hoses every 5 years — the forgotten consumable in every home. 6) Never run appliances while away for long periods: the risk outweighs the convenience.
🚿 Priority 3: Shower, Bath and Toilet
1) In showers the leak is usually slow: degraded silicone or failed waterproofing under the tray. 2) Place the sensor immediately in front of the module, at the floor joint where water escapes. 3) At the toilet, the critical points are the cistern connection and the base — sensor behind the base, against the wall. 4) In upper-floor bathrooms, also consider a sensor in the false ceiling below, where one exists. 5) Damp skirting with no visible water means a leak beneath the finish: that needs instrument detection. 6) One sensor at the lowest point of the bathroom catches any of these scenarios.
🍽️ Priority 4: Kitchen Sink and Cabinets
1) The sink cabinet concentrates the trap, isolating valves, appliance connections and sometimes a filter. 2) Place the sensor at the back of the cabinet base, not by the door. 3) Confirm the cabinet base has no gap letting water drain away without touching the sensor. 4) A second sensor at the skirting in front of the cabinet catches overflows that escape the interior. 5) Check hose clips and seal condition at every annual service. 6) Chipboard swells within the first hours: here response time genuinely saves money.
🧭 Positioning Rules That Make the Difference
1) Always on the floor, resting on the floor plane — never on a shelf or fixed to the wall above the skirting. 2) Identify the real slope of the room: run a little water and watch where it goes. 3) Avoid frequently washed areas and the thresholds of external doors, to prevent false positives. 4) Keep electrodes clean: dust and grease delay detection. 5) Label every sensor with its room, both on the device and in the app. 6) One sensor per risk zone is the minimum; two where there is a floor drain or a strongly sloping floor.
✅ Annual Verification Checklist
1) Wet each sensor with a damp cloth and confirm both local and remote alerts. 2) Check battery status and replace anything below 30%. 3) Reposition sensors moved by cleaning or by appliances being pulled out. 4) Visually inspect hoses, traps and the water heater base for oxide and salt deposits. 5) Operate the main stopcock and, where fitted, the automatic shut-off. 6) Want us to survey your home and place the sensors at the right points? Message us on WhatsApp.
FAQ
How many sensors does a typical Funchal home need?
In a two or three-bedroom home we usually fit four to six: water heater, kitchen, each bathroom and the washing machine area. That is the balance between cost and real coverage.
Do these sensors detect condensation or rising damp?
No. They need a film of liquid water bridging the electrodes. For condensation and rising damp we use a hygrometer and material moisture measurement instead.
Does it make sense to put sensors inside false ceilings?
Yes, at points where risers or connections pass. There we prefer wired sensors, because changing batteries inside a false ceiling is impractical.
What if the floor is wood or vinyl?
Placement is the same but urgency is higher: those finishes swell within hours. In those cases we always recommend pairing with automatic water shut-off.
Want your sensors placed at the right points, with real testing? Message us on WhatsApp.
We work in Funchal, Câmara de Lobos, Caniço, Santa Cruz, Machico, Ribeira Brava, Ponta do Sol, Calheta, Santana, São Vicente and across the whole island of Madeira.